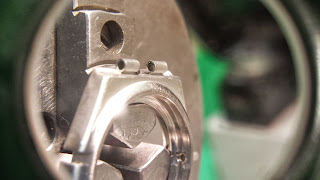
Once everything was disassembled I had work to do on 3 main components. The case frame, the caseback and the bezel. The main issue with the frame is that is has a very angular cut to it so one has to be very careful with the hardbuff wheel to keep from changing the dimensions of the case. I was able to remove most of the scratches in this fashion but a few of the larger dings are still visible. It's a tradeoff between a flawless finish and possibly ruining the angles of the case. After brushing the fresh finish is a major improvement.
The back of the case and the caseback where years of hapless battery changers have attacked the area is pretty chewed up. So I did my best to minimize the level of visable damage. The damage is so severe you really can't expect to pry up on the case lip with a caseknife anymore. So I took everything for a spin on the lathe and burnished and sanded out the majority of the damage. Here again it's a balance between getting rid of all traces of damage, but possibly removing to much material the caseback won't be able to snap down anymore.
The bezel was easier, there was only minor scuffs and spinning the ring on the lathe and touching up the lined finished with a hard chunk of Artifex did the trick. The original finish is back and looking great.
The final challenge is to reassemble everything, and lacking the Omega case and bezel jig I'll need to fashion my own to get those little claws back and seated properly. I am thinking it'd going to be necessary to fashion a die out of some plastic pipe. I'll be attempting this operation tomorrow or Friday. Stay tuned.
 |
| Claws, removed. |
 |
| This is a fun and easy step. Provides great results too, as long as you don't overdo it. |
 |
| This is AFTER some burnishing. I brought it down a bit with sandpaper after this then burnished again. It's a very minor scar now. |
No comments:
Post a Comment