Wednesday, May 29, 2013

Quartz Destruction

This last week I was working on an older quartz watch.  My teacher, Elaine, sabotage it in various ways and then I had to find and fix the problems.  I have taken pictures of the problems below.  There was a broken setting stem, a bent hack and a metal dust-covered rotor.  The endshake of the rotor was also too small. 

The hardest part of this watch however was the face that the crystal popped out after cleaning the case.  Then, during the trial and error process of figuring out how to cleanly glue a new crystal back in there I broke the the crystal that was in there.  So I got to grind a new crystal to fit, which was an additional challenge.  Funny how a little quartz watch took nearly a week of my time to finish.  I sure learned a lot though.

Broken stem!


The new, the old

The new stem, shortened to nearly the finished length with a nipper was then brought to the final dimension on a stone

Nearly short enough, but the space between the case and crown is still too extreme

A perfect fit!

The bent hack.  This is the part that blocks the geartrain (with the top finger) and shuts down power to the rotor (with the bottom finger) In this case the bottom finger had been bent downwards so it was not engaging the electrical contact, it had to be bent back upwards to ensure effectiveness

The rotor, covered with iron filings!  This will not do.

The rotor was easily cleaned off with ruboff compound

Wednesday, May 15, 2013

Quartz Time

The next big test for the first year watch students is SAWTA #2.  In this exam, we are tested on polishing and the overhaul (troubleshooting, cleaning, oiling, assembly, casing) of a quartz movement.  This week I have been practicing as much as I can on working on these quartz movements.

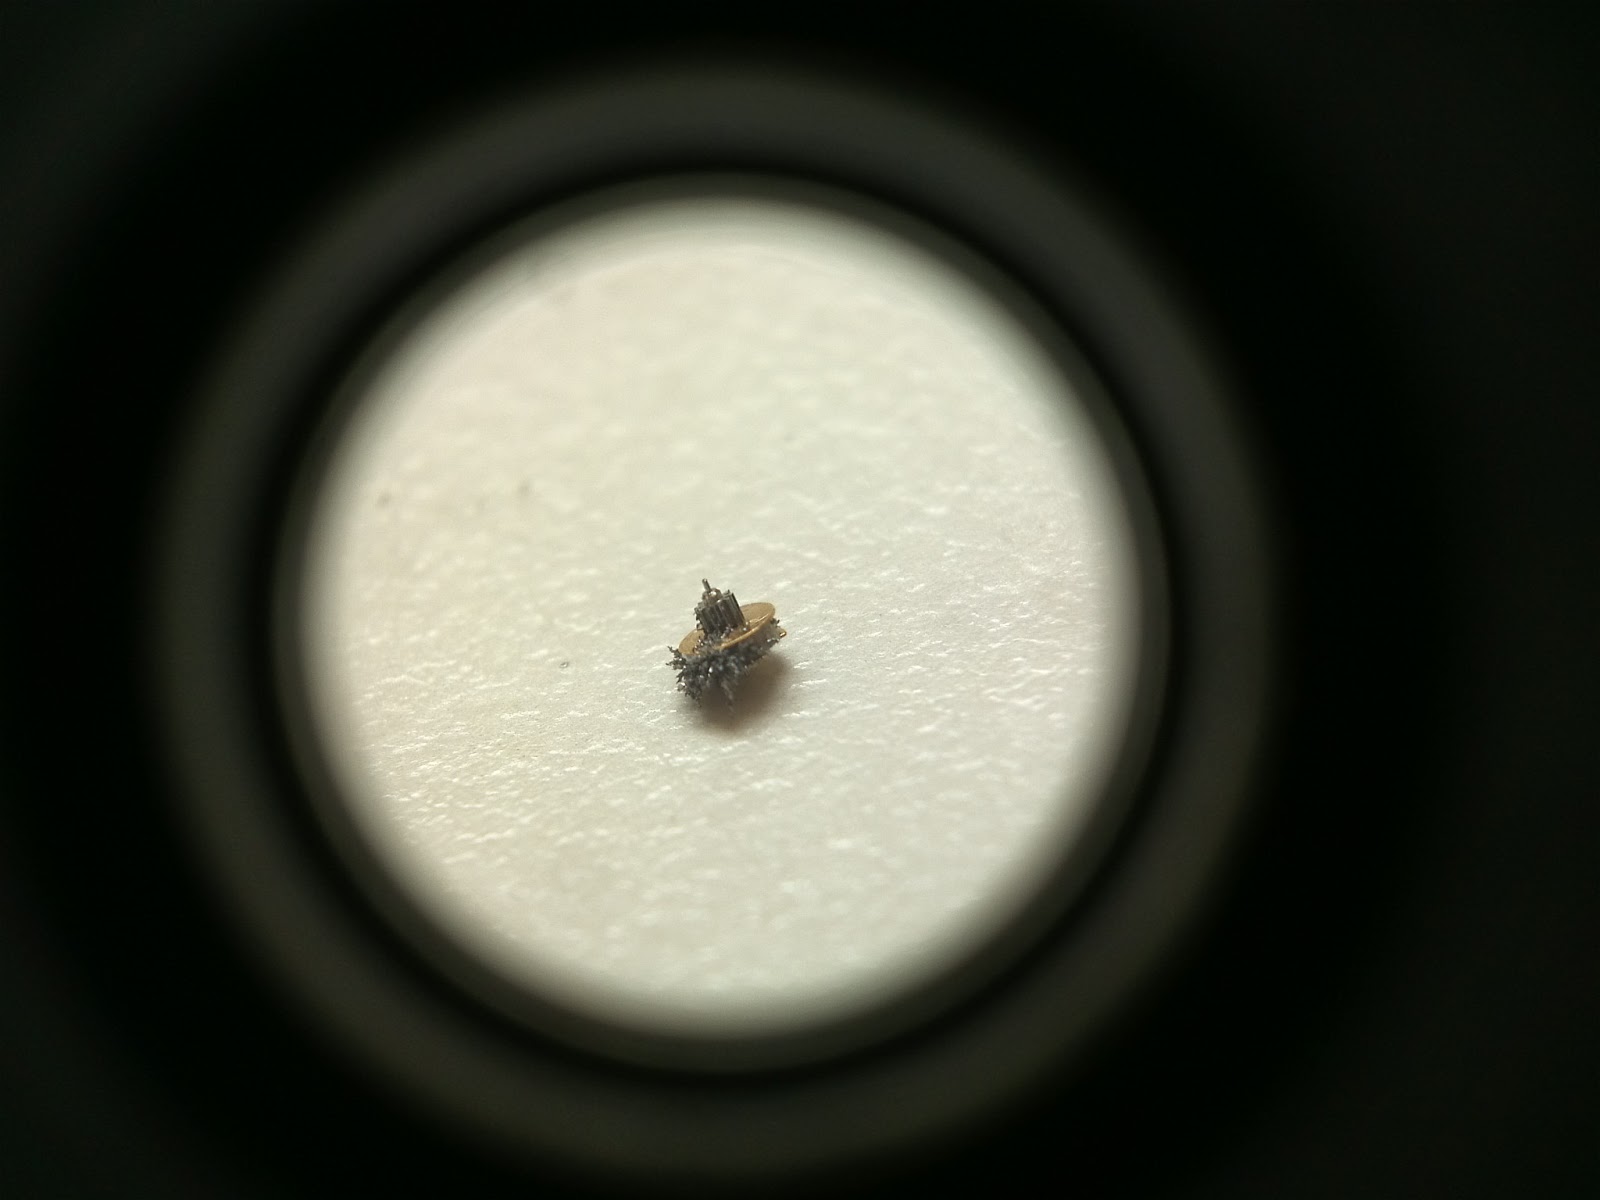
There are challenges unique to the electronic watch.  You must be very careful to not touch the coil as it is made of extremely fine wire and the slightest slip will kill the watch.  You must also take care when handling the integrated circuit.  The stepping motor's rotor is a strong permanent magnet which can collect metal dust which will adversely effect performance.


I have outlined some of the tests for a full service of a quartz watch below.

Checking the continuity of the coil.  1.59koh is within tolerance on this circuit
  
Daily rate is +0.16s/d, Consumption is 742nA

This is the consumption of the circuit without the motor active, 112nA

To test the lower voltage operating threshold and the end of life indicator, you arrange the test probes in this manner. Then slowly dial back on the voltage until the watch stops ticking

Thursday, May 9, 2013

Polishing

We have started our polishing practice.  The first step in polishing is the hard buff, this step takes the longest.  It is followed by a cloth wheel with a white polish, then a final polish with a pink or yellow polish.  It can be tricky depending on the desired outcome.  During any stage you can get undesirable morphing and rounding of the metal if the piece of not manipulated correctly.

With the hard-buff you need to press hard enough on the piece to prevent chopping and an uneven finish but if you press too hard you will get rounding of any corners you wish to maintain.  With the cloth wheel I have found it is best to clean the wheel with the rake quite often (especially on a fresh wheel)  and load the polish on only one half.  Moving between the polish-loaded part of the wheel to the other half has given me good results.

 I have learned a tremendous amount about the practical process of polishing in the last couple days.  We have been working on slugs of metal (pictured below) but are going to start working on practice watch cases tomorrow.   I will post some pictures of that later on.

The hard-buff wheel
Some of the practice slugs, they still have some work left
The cloth polishing wheel
Polishing is a dusty business

Wednesday, May 1, 2013

Polishing Prep + Hairspring Work

Here are some pictures from the last couple days.  I made a broach for holding hairspring collets, started pinning hairsprings to their collets and prepared my buffing wheels for the polishing course.

The unprepared buffing wheel
Using this rake fluffs up the wheel and makes it very soft
A hairspring on the broach I made Tuesday
A full shot of the broach
Halfway through pinning this hairspring to its collet