I passed my SAWTA 1 practical and written test! I am very pleased. The examiner liked the finish and functionality of my piece and the only area where I got docked on the grading was for not properly dimensioning or specifying dimension on the clicks 'beak'. Shame I didn't think to do that because it would have guaranteed me a nearly perfect score and would have been very easily implemented!
Friday, April 19, 2013
Wednesday, April 17, 2013
SAWTA 1 Project Complete
I was too focused in on this project to bother taking any pictures of the process, nothing out of the ordinary was necessary though. I did take an old bearing and turned it into a turntable for applying perlage in a radial pattern. I'll post pictures of that later on.
The click is free and functioning against the spring. It remained within tolerance after finishing so I should pass the test. Finishing also turned out nicely. Overall I am extremely pleased with my results. Fingers crossed for a good grade!
UPDATE: I blued my screw and re-applied my perlage as I felt it was sub-par due to a weakness in my jig. With that remedied I reapplied with more accuracy and success.
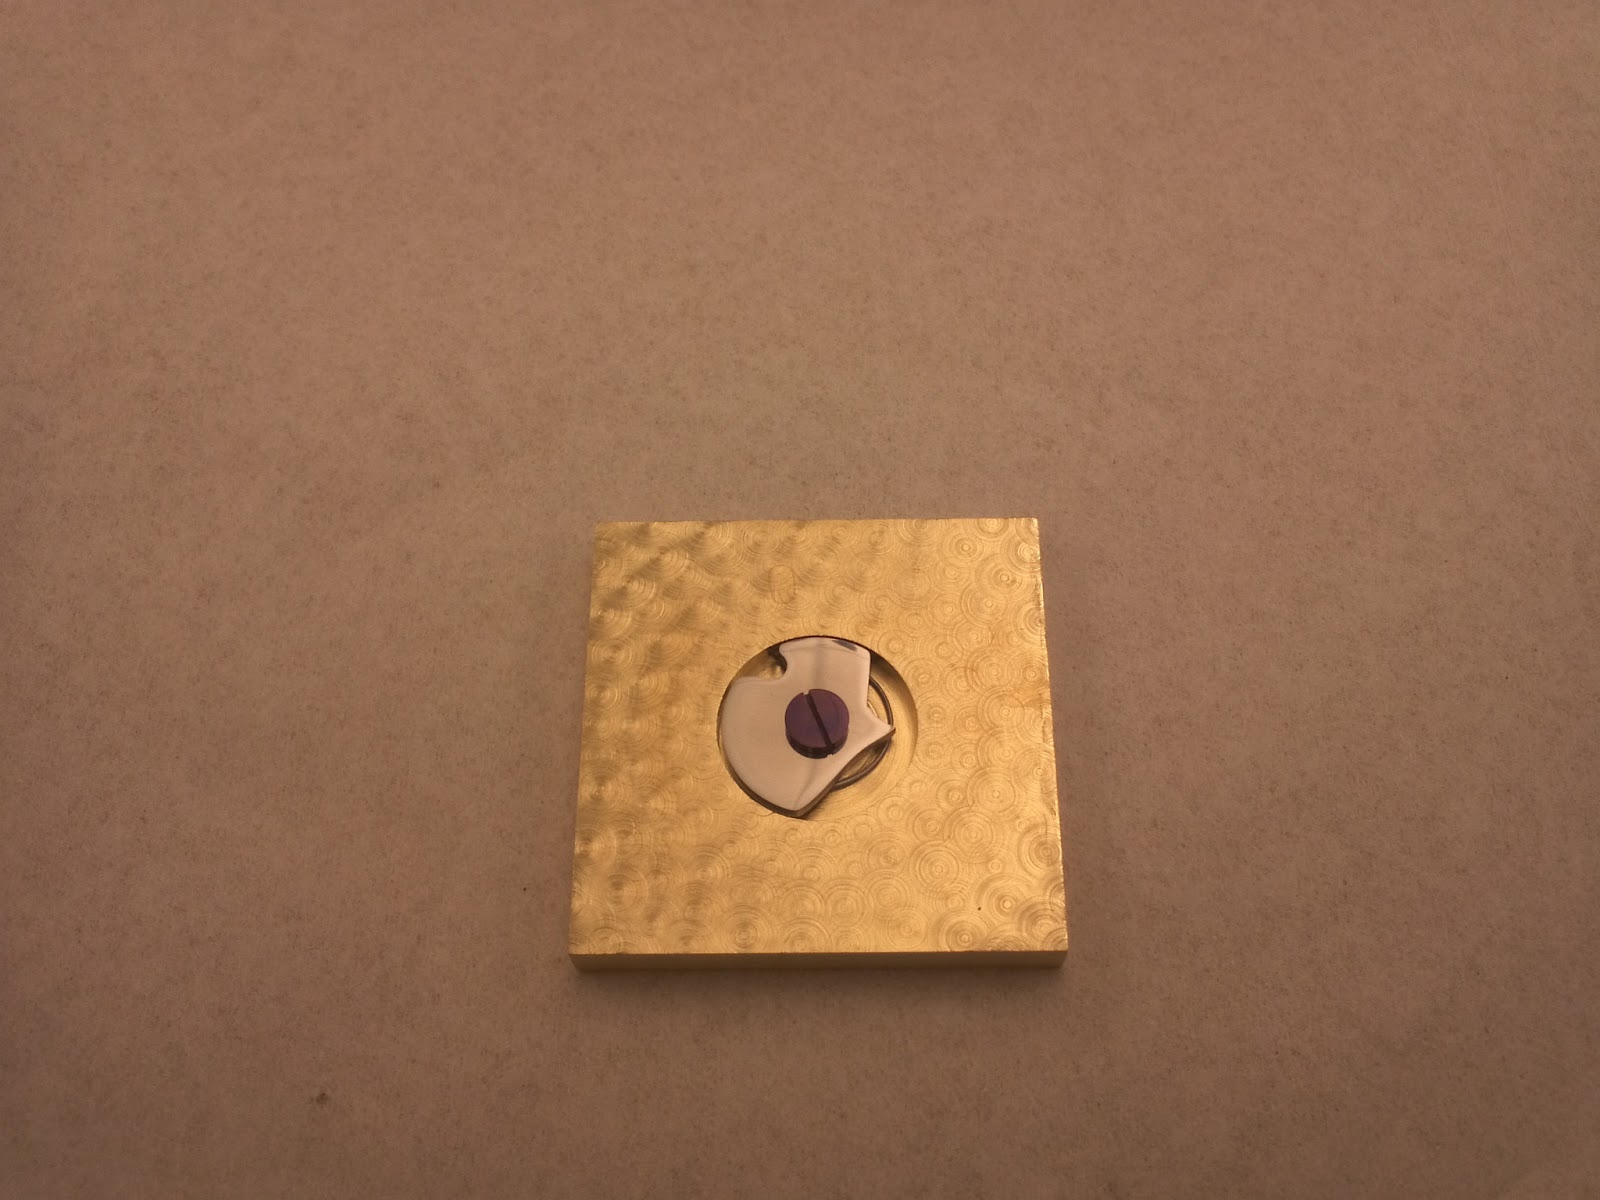 |
| The completely finished project |
 |
| Another shot |
 |
| The click assembly though magnification |
 |
| Our instructions |
Tuesday, April 16, 2013
SAWTA 1 Test
Today is our first test for SAWTA (Swiss-American Watchmaker Training Alliance) certification. Our task it to create a 3x scale model of a ETA 6497 click, complete with plate spring and screw. Half way through day 1 I have completed the click and am currently working on the plate. I will post pictures of the process once I complete it.
Friday, April 12, 2013
Large Tourbillon Balance Model
A project we are working on in class is a 4x scale tourbillon model. A tourbillon (french for 'whirlpool') is a watch complication originally designed to help prevent positional errors due to gravity in pocket watches. It involved placing the whole regulating mechanism in a rotating cage that usually turns once every minute.
So far we have completed the upper and lower cage segments and the posts that hold them together. Yesterday I turned out the balance wheel on the lathe then cut out the central arms using the vertical mill attachment. Overall I am extremely pleased with the results. Future upgrades for the wheel may include inertia blocks on the outer or inner rim.
So far we have completed the upper and lower cage segments and the posts that hold them together. Yesterday I turned out the balance wheel on the lathe then cut out the central arms using the vertical mill attachment. Overall I am extremely pleased with the results. Future upgrades for the wheel may include inertia blocks on the outer or inner rim.
 |
| Here is the balance blank |
 |
| The arm template superglued into place for sawing then milling |
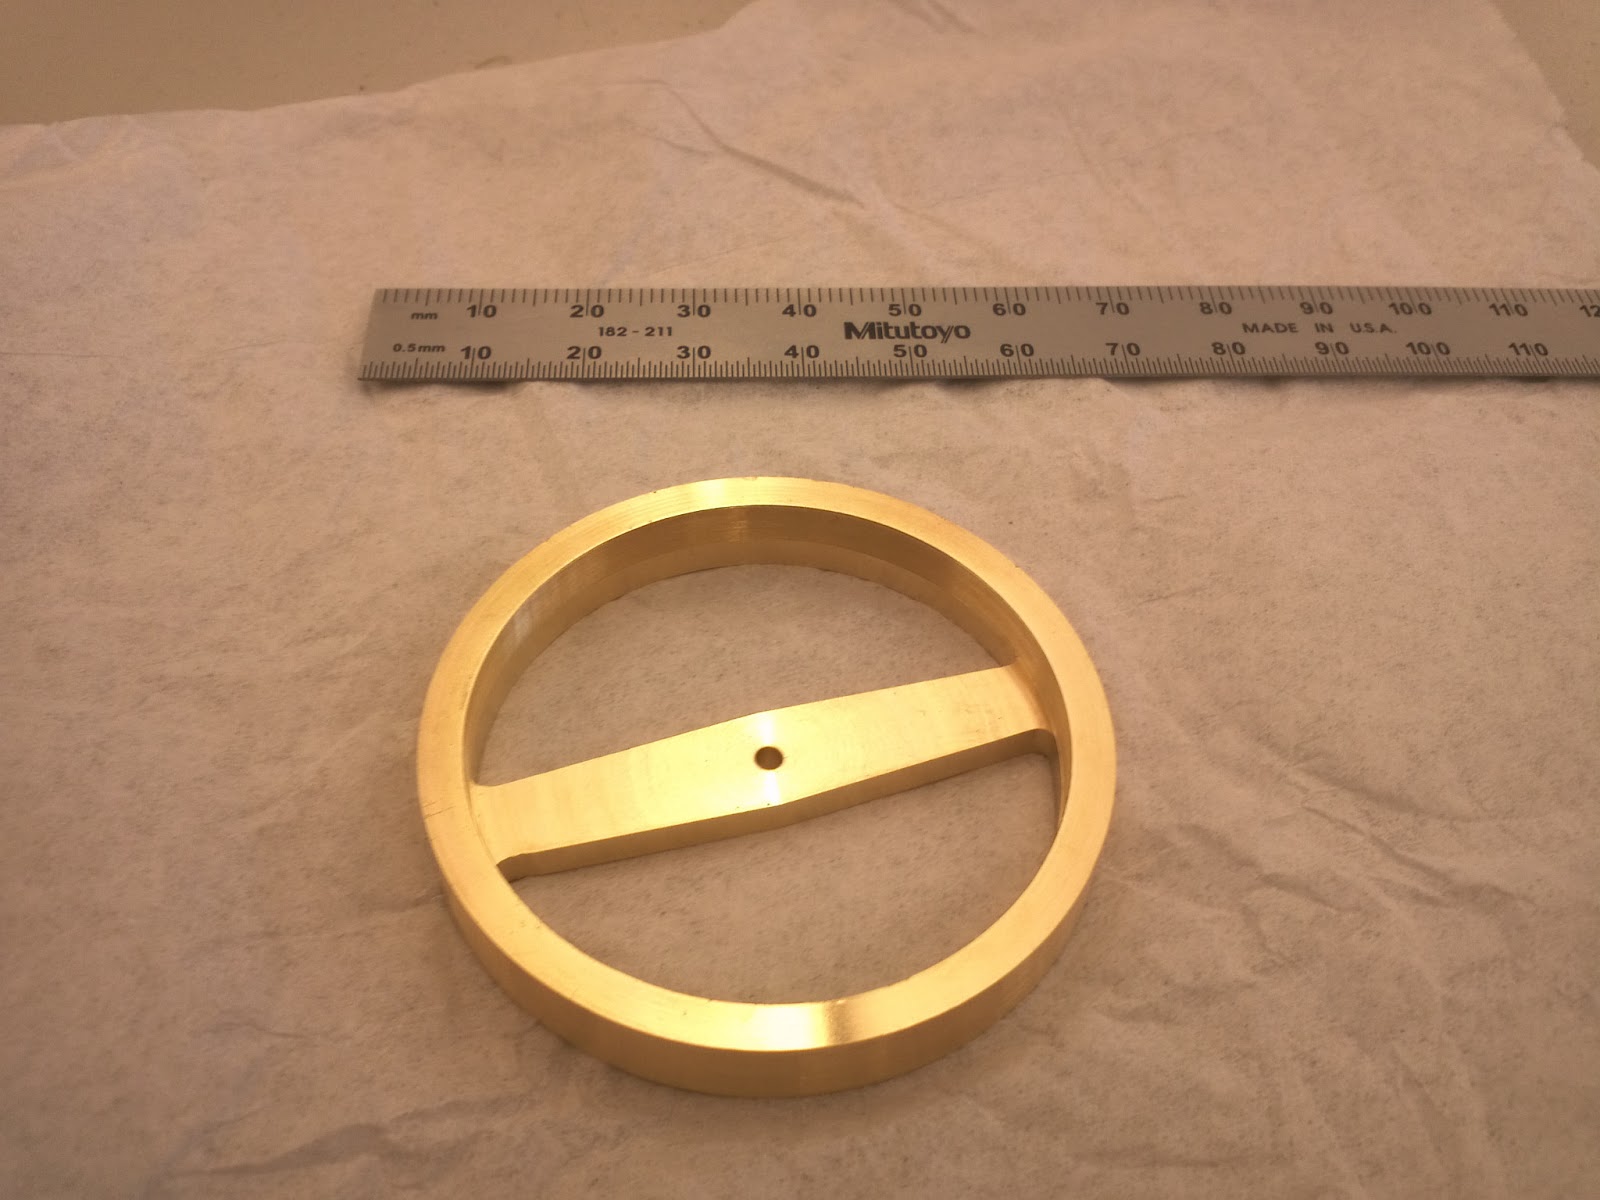 |
| The complete balance, it's huge at just under 50mm |
Monday, April 8, 2013
Bushings
This week we started by working on bushing a worn barrel bridge. I had some practice last week turning and installing a bushing in the center wheels lower hole as its jewel had cracked. After some trial and error I found a very effective way to turn bushings and centering holes accurately.
The first step here was to center the bridge in the face plate. Once this was accomplished I was able to take a high speed steel graver and open up the hole to a larger and even diameter which would then be centered properly.
Next I found a bronze bushing of roughly the correct dimensions and fitted it onto the lathe using a 1dg taper on a brass rod. Once it is secured on the taper, I used the slide rest and carbide cutter to bring the diameter to the correct dimension followed by facing the part off until it was the correct thickness.
Once this was finished the only step before installing it in the plate was to get the bushing's hole around the proper dimension. I did this using a cutting broach while the bushing was held in my pin vise.
Finally the bushing is pressed into the plate and a smoothing broach is used to bring the bushing's hole to the final dimension while also nicely polishing the inside of the hole.
All in all it was a fun task to complete, and I'm getting very good at turning out bushings quickly. It will be a nice skill to have as backup if I ever need to do any refurbishment work in the future.
 |
| The bridge after my teacher sabotaged it. Notice the worn and off-center hole. |
 |
| The bridge centered on the lathe, the hole is now centered and even again |
 |
| Turning the bushing to the necessary dimensions |
 |
| The completed bushing, installed with barrel arbor in place |
Subscribe to:
Posts (Atom)